In the field of industrial marking, the UV Piezo Inkjet Printer has become the standard configuration for an increasing number of production lines, boasting technical strengths of high resolution, full-material compatibility and instant curing. However, ink circuit pressure adjustment and troubleshooting are the most frequent maintenance tasks that directly impact production capacity.
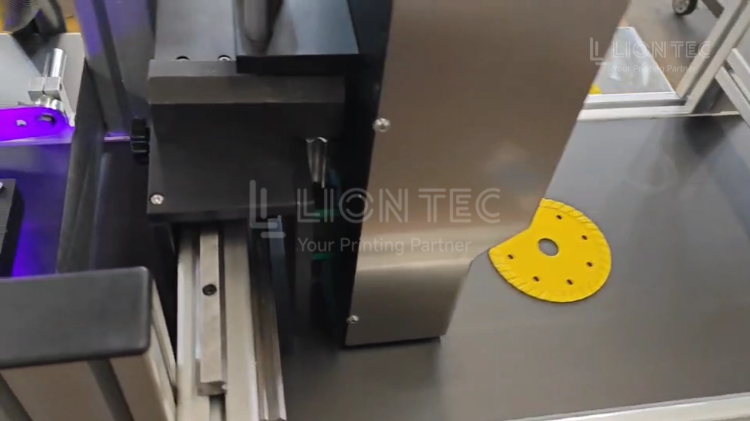
Pressure Debugging and Troubleshooting Workflow
I. Pre-visual Inspection of the Ink System
- Check whether ink tube and air pipe connectors are loose or cracked, and verify if sealing rings and ink sacs have aging and deformation.
- Confirm all-stage filters are within valid service life and free of ink sludge blockage. Verify the UV ink level in the ink tank falls within the marked range, and the ink model matches the printhead. Do not mix UV inks of different brands to avoid sediment and pipe clogging for your UV Piezo Inkjet Printer.
II. Power-on Preheating & Printhead Constant Temperature Initialization
- Power on and activate the printhead constant temperature system. Wait for 15~20 minutes to stabilize ink temperature and bring viscosity up to process standards.
- Temperature and humidity fluctuations directly affect ink fluidity. Pressure adjustment without constant temperature will lead to parameter deviation.
III. Ink Circuit Degassing to Remove Large Air Bubbles from Pipelines
- Turn on ink circulation and run low-speed circulation for 10~20 minutes. If needed, perform manual low-pressure ink pressurization for 3~5 seconds each time with a 1-minute interval. Gradually exhaust air bubbles inside ink sacs and filters until no continuous visible large air bubbles flow out of pipelines.
- Wipe residual ink on the printhead surface gently with lint-free cloth. High-pressure sudden pressurization is strictly prohibited to prevent printhead damage.
IV. Basic Negative Pressure Parameter Setting & Fine Tuning
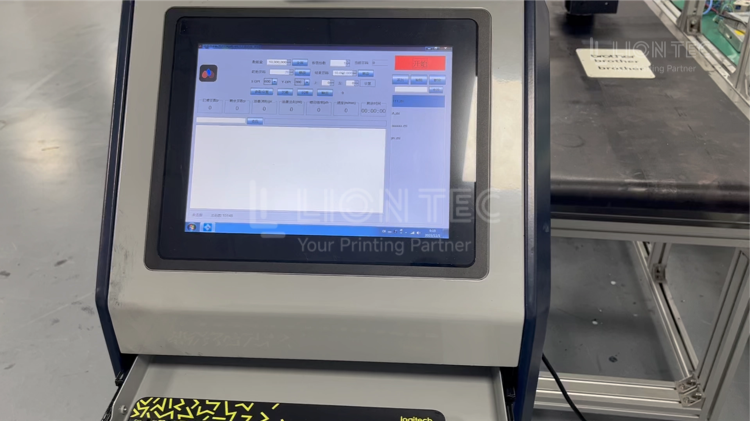
- Enter initial parameters in the system backend according to the reference negative pressure value recommended by the printhead manufacturer. Monitor the pressure gauge until the reading stabilizes.
- If the printhead has ink dripping or ink seepage, slightly increase the negative pressure.
- If broken lines or missing nozzles occur during printing, slightly reduce the negative pressure.
V. Printing Test & Pressure Balance Point Verification
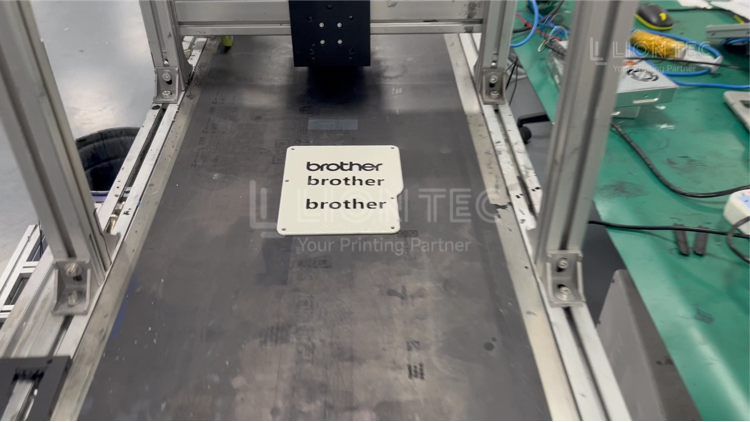
- Print test codes and QR codes on actual production substrates, and run continuous printing for 30 minutes. After stopping and standing still, no ink droplets fall from nozzles. During continuous printing, characters remain intact without ink splashes or random broken lines for the UV Piezo Inkjet Printer.
- Pressure debugging is completed once standards are met. Archive records of current negative pressure, temperature and ink information.
VI. Sectional Troubleshooting Procedure for Abnormal Pressure
- Observe the negative pressure gauge: Continuous drastic fluctuations → prioritize air leakage inspection; Pressure fails to build up and the negative pressure pump runs nonstop → sealing failure; Stable pressure but poor printing quality → clogging or printhead issues.
- Locate air leakage points by sectional pressure retention: Close pipeline sections one by one to pinpoint leakage positions, then replace aging air tubes and sealing rings.
- Filter clogging: Replace the filter as specified, re-degas the pipeline and perform secondary pressure debugging.
- Abnormality persists after full pipeline inspection: Check calibration of the pressure sensor. Inaccurate sensor readings may lead to misjudgment of parameters.
Benefits of Debugging and Troubleshooting
- Reduce Production Line Scrap Rate Stabilize the ink circuit pressure for your UV Piezo Inkjet Printer, minimizing ink leakage contamination, broken QR code lines, incomplete characters and other defective marks. It cuts substrate waste and raises product pass rate, ideal for continuous mass assembly line production.
- Extend Service Life of Printheads and Ink Circuit Components Pressure imbalance continuously impacts the printhead piezoelectric crystals. Air leakage and frequent start-stop of negative pressure accelerate aging of ink sacs and sealing rings. Regular pressure debugging and pre-emptive fault inspection reduce printhead damage and lower consumable replacement costs.
- Cut Downtime for Maintenance Master the standardized troubleshooting workflow to quickly locate pressure-related faults without full machine disassembly. This shortens production line downtime and improves OEE (Overall Equipment Effectiveness).
- Reusable Solidified Process Parameters Record pressure, temperature, ink model and substrate information after debugging. Directly apply these process parameters during product changeover, new machine installation and restart after shutdown to save repeated debugging time.
Conclusion
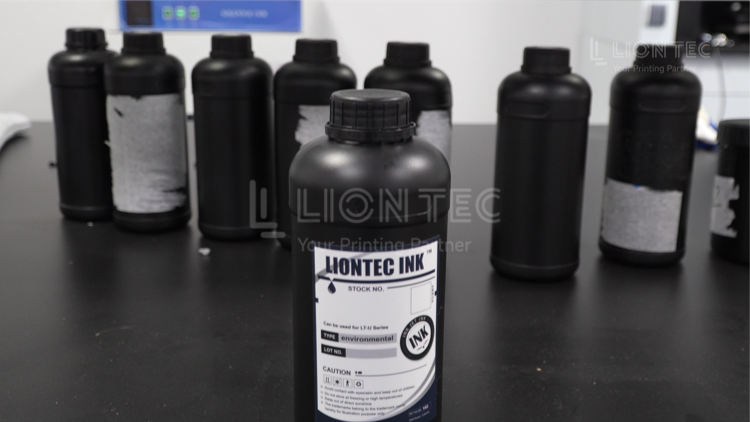
The core of ink circuit pressure debugging and troubleshooting for your UV Piezo Inkjet Printer is not “repairing after faults occur”, but establishing an active operation and maintenance system with pressure monitoring as the early warning and periodic maintenance as the foundation. If you need ink circuit pressure parameter recommendations tailored to specific substrates or production line working conditions, welcome to contact the LIONTEC technical team for customized solutions.