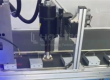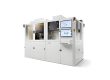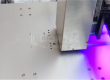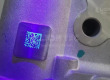
Within the industrial coding and marking sector, the UV Coding And Marking Machine has become standard equipment for a growing number of production lines, thanks to its technical advantages of high resolution, full-material compatibility and instant curing. Nevertheless, the performance output of the equipment hinges on scientific and reasonable parameter configuration.
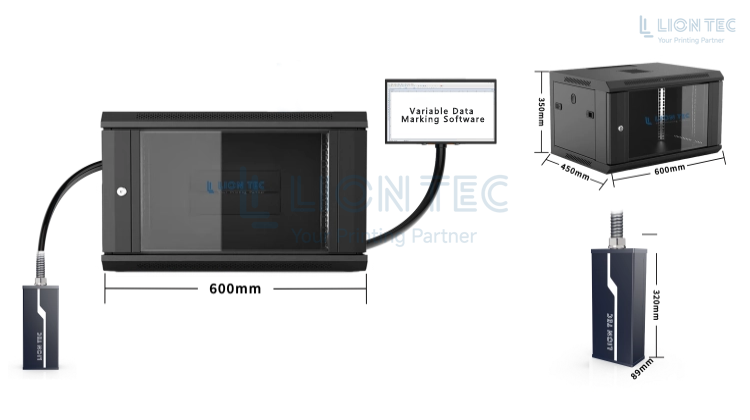
UV Coding And Marking Machine Parameter Breakdown
- Print Image Parameters: Resolution, grayscale level, droplet size, firing voltage. These control ink droplet morphology and affect the edge sharpness of texts and QR codes.
- Motion Synchronization Parameters: Production line encoder multiplier, trigger delay, repeat print spacing. Ensure consistent marking positions and eliminate registration offset.
- Ink System Parameters: Negative pressure value, printhead constant temperature, ink circulation frequency. Stabilize the ink circuit to reduce ink breakage and ink leakage.
- UV Curing Parameters: LED lamp power, lamp distance, irradiation delay. Regulate ink curing degree to prevent tackiness, abrasion, or embrittlement caused by over-curing.
- Auxiliary Process Parameters: Printhead jet height, air purge pressure, plasma pre-treatment level. Adapt to low-adhesion substrates including smooth plastic, laminated cartons, glass and metal.
Properly balancing these five categories of parameters eliminates common production issues such as blurred printing, inconsistent code positions, poor adhesion and incomplete curing. All parameter adjustments should be recorded and archived to form replicable process standards for mass production switching between different packaging materials.
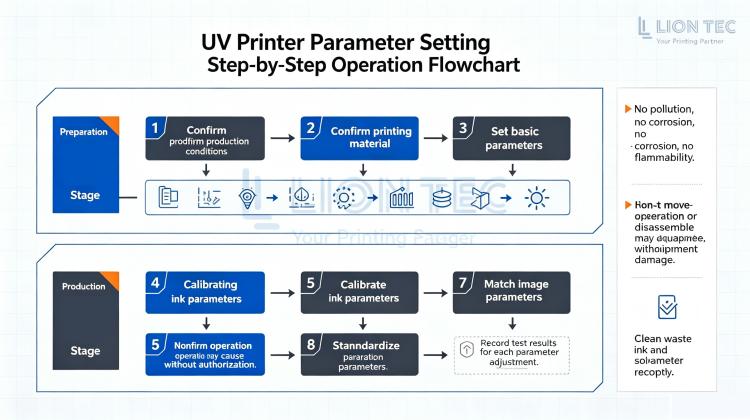
Parameter Setting Step-by-Step Procedure
Step 1: Confirm Working Conditions & Lock Basic External Parameters
- Ensure stable conveyor speed of the production line, calibrate the encoder, measure the standard height between printhead and product surface, record workshop temperature and humidity, and confirm the model of UV ink in use. Do not directly apply parameters across different ink models.
Step 2: Initialize Basic Ink System Parameters
- Set the printhead constant temperature within the range recommended by the ink supplier.
- Adjust the negative pressure value and observe nozzle status during trial operation. Standard status: no ink leakage at rest, no ink breakage during jetting.
- Enable scheduled ink circulation and set circulation intervals to prevent ink sedimentation.
Step 3: Debug Print Image and Drive Parameters
- Import print templates (text / barcode / QR code) and select the base resolution.
- Adjust firing voltage and grayscale level, print test strips and check for ink tailing or satellite droplets.
- Select small droplet mode for tiny characters; appropriately increase droplet volume for large-area marking.
Step 4: Calibrate Motion Synchronization Parameters
- Input the encoder pulse multiplier of the production line.
- Adjust print trigger delay, test 10 sets of samples to ensure no horizontal shift of markings.
- Set repeat print spacing to eliminate position deviation caused by fluctuations in product pitch.
Step 5: Matching & Debugging of UV Curing Parameters
- Gradually increase curing lamp power from low to high. Perform abrasion resistance test after printed samples cool down.
- Judgment criteria: ink surface non-tacky, no ink loss after wiping, while avoiding excessive embrittlement and cracking of the ink film. For high-speed production lines, slightly raise curing energy to compensate for shortened moving irradiation time.
Step 6: Sample Verification, Parameter Archiving & Mass Production Launch
- Continuously print 20 samples, inspect appearance, QR code read rate and adhesion. Once the result meets requirements, name and archive the full set of parameters, bound to the corresponding substrate and line speed template. During mass production, inspect marking status every 2 hours and fine-tune parameters according to minor environmental changes.
Step 7: Management of Parameter Change Records
- Keep records for every parameter adjustment: substrate type, production line speed, modified items, and effect comparison before and after adjustment, to build an internal enterprise process knowledge base.
A complete parameter archive can greatly shorten commissioning time when replacing substrates, production batches or production lines, and effectively reduce material waste caused by repeated trial printing.
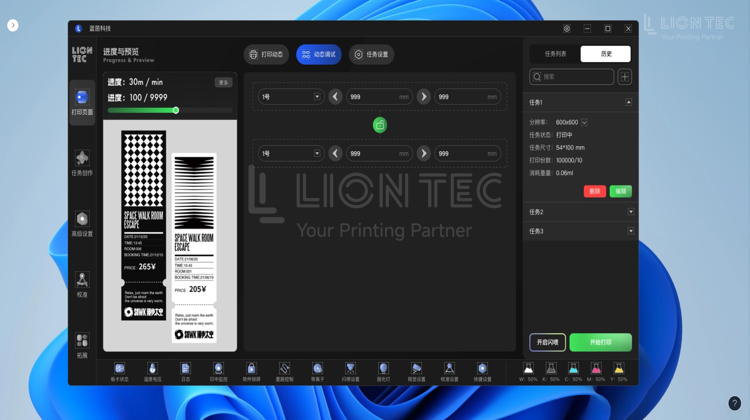
Stable printing quality relies not only on high-performance UV coding and marking hardware, but also on standardized parameter debugging workflows. Systematic parameter management helps enterprises achieve consistent marking results across long-term continuous production.
Conclusion
We hope this manual helps operators complete parameter setting for UV Coding And Marking Machine in a more standardized manner. Should you have further technical inquiries, please contact the LIONTEC technical support team for customized solutions.