On industrial inkjet printing production lines, incomplete UV curing is a high-frequency and difficult-to-troubleshoot process issue for Industrial Inkjet Printers. Unlike nozzle clogging which has clear alarm signals, it often only reveals itself after printed products are delivered, showing up as ink peeling, cracking lines or back-side smudging. This article will sort out a reusable diagnosis and solution workflow.
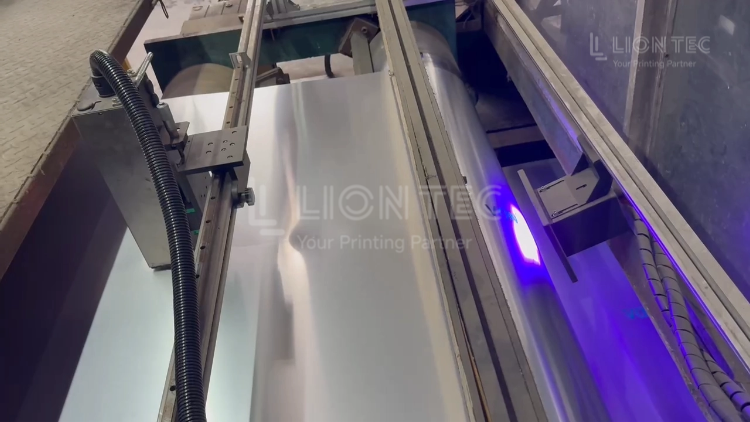
UV Curing Step-by-Step Troubleshooting Workflow
I. Classify Poor Curing Types and Record Fault Phenomena
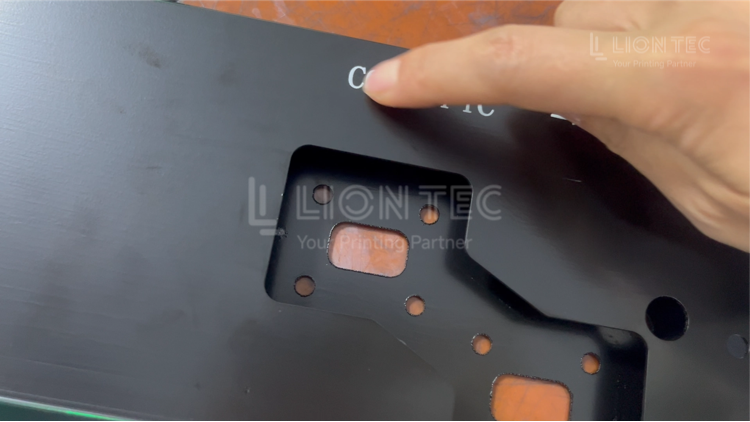
- Perform a simple manual test: lightly touch the print surface with a finger to check for tackiness, and gently scrape the printed area with a fingernail to check for ink peeling or lifting.
- Record information: substrate type, ink color, print pass count, line speed, UV power setting, workshop temperature and humidity, and cumulative working hours of the UV lamp.
- Confirm whether the issue is surface tackiness, bottom-layer ink peeling, or both occurring simultaneously.
II. Conduct Basic Inspection of the Light Source System
- Cut off power and wait for the UV lamp to cool fully. Wipe the UV lamp protective window with a lint-free cloth dipped in isopropyl alcohol to remove ink mist and dust. Do not scrape the window with hard objects.
- Visually inspect the LED lamp bead module for any locally blackened or non-lighting beads.
- Check the heat dissipation system of the UV module: inspect whether fans and air vents are blocked. Abnormal heat dissipation directly reduces UV output.
- If available, use a UV energy meter to measure the actual irradiance and energy density reaching the print surface, and compare with the ink manufacturer’s process requirements.
- Verify that the light source wavelength matches the ink. Mismatched wavelength directly causes curing failure.
III. Optimize Printing Process Parameters
- Control ink layer thickness: thick ink layers block UV penetration. Prioritize multi-pass thin-layer printing and avoid single-pass high-volume ink deposition. Pay special attention to ink output control during white ink printing.
- Adjust print speed: reduce line speed / carriage speed to increase ink exposure time and improve total received energy density.
- UV power level: within the allowable heat dissipation range of the equipment, moderately increase the UV output duty cycle. Do not simply run at full power to mask hardware aging.
- For surface oxygen-inhibition tackiness: within the range allowed by the ink supplier, increase peak irradiance to suppress the oxygen inhibition effect.
IV. Investigate Ink, Consumables and Environmental Factors
- Confirm that the ink is within expiry and stored properly. Expired ink loses photoinitiator effectiveness, resulting in poor curing. Do not mix different ink series arbitrarily.
- Workshop environment: severely off-spec temperature and humidity interfere with the photopolymerization reaction.
- Substrate treatment: inspect the substrate surface for oil, dust or release agent. Perform corona or plasma pretreatment when necessary to rule out false “poor curing” caused by surface contamination.
V. Comparative Testing to Locate the Root Cause
- Print test samples on a standard reference substrate while keeping all parameters unchanged.
- If the standard substrate still cures poorly, the issue lies in equipment hardware or parameters.
- If the standard substrate cures properly, the issue lies in substrate or ink-substrate compatibility.
VI. Hardware Diagnosis and Component Replacement
- After window cleaning and full parameter optimization, if UV energy meter readings still fail to meet the ink’s minimum process requirements, and the lamp beads have reached the manufacturer’s recommended service life:
- Replace the UV LED module promptly. Do not continue production by forcing higher power output.
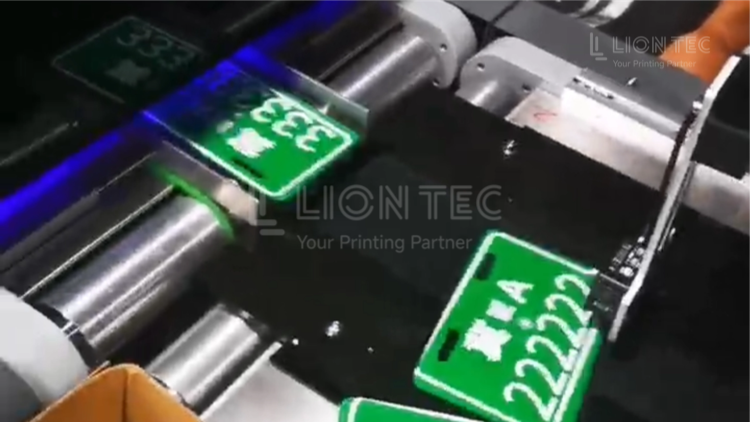
Advantages of the Step-by-Step Approach
1. Reduce production scrap and material loss
Quickly identify the root cause of poor curing to reduce semi-finished product scrap caused by set-off, ink peeling and rework. Especially in continuous batch production, this avoids material losses across entire rolls or batches and improves material utilization.
2. Stabilize the physical performance of finished products
A properly cured ink film meets industrial shipping standards for adhesion, scratch resistance, solvent resistance and weather resistance. This eliminates post-delivery complaints such as re-tackiness, lifting or fading, and improves delivery quality.
3. Release real equipment capacity and avoid unnecessary speed reduction
Many factories respond to curing issues by simply lowering print speed, sacrificing production efficiency. After scientific diagnosis, through cleaning and maintenance, parameter optimization and correct wavelength matching, qualified curing is achieved at a reasonable speed, balancing quality and throughput.
4. Extend the service life of UV light source components
Standardized troubleshooting avoids running at full power long-term to compensate for hardware degradation. Timely window maintenance and proper heat dissipation reduce overloaded lamp bead operation and lower component replacement costs.
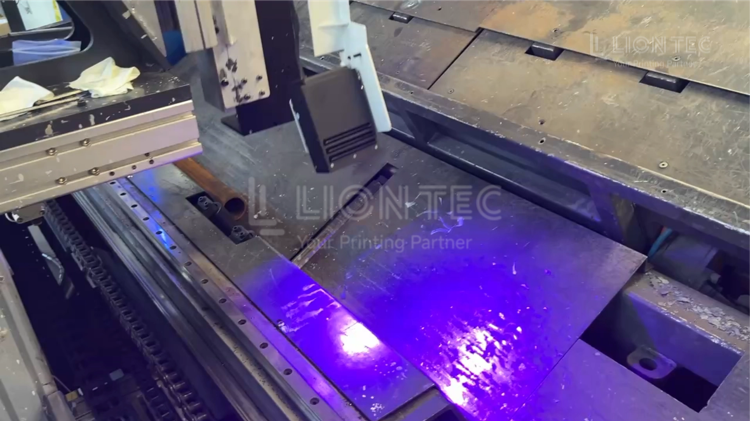
Conclusion
The core of diagnosing incomplete UV curing is converting the vague phenomenon of “not drying” into measurable parameters. Irradiance, curing energy density, ink layer thickness, substrate surface tension and ambient temperature — any one of these variables deviating from its optimal window can manifest as “poor curing” on the production line. Building a parameterized troubleshooting habit is more reliable than relying on experience and intuition.