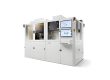
In industrial online coding applications, blurred printing and ink breakage are common failures for UV inkjet printers. Our uv inkjet printer print fault troubleshooting guide explains that UV ink undergoes curing reactions once exposed to UV light. This feature delivers reliable adhesion, yet it also brings greater challenges to diagnosing nozzle clogging and abnormal ink output.
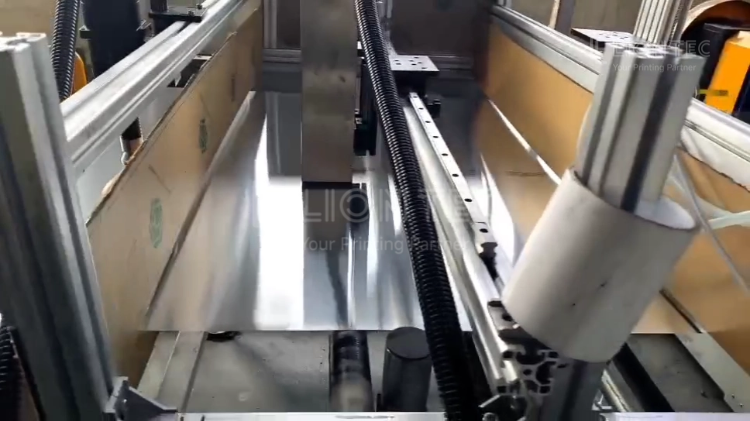
Blurred Printing & Ink Interruption Troubleshooting
I. Record Fault Phenomena and Distinguish Fault Scenarios
- Record fault triggering conditions: fault upon startup / fault after continuous production. Note ink replacement, filter change, workpiece material, and workshop temperature & humidity.
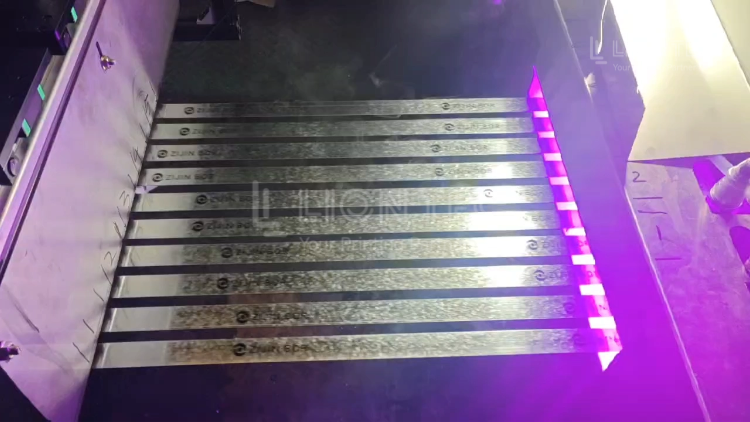
- Print a printhead test strip to observe nozzle ink ejection. Record missing or weak channels as the basis for fault judgment.
II. External Environment & Hardware Physical Inspection
- Check the printing distance between printhead and workpiece. Excessive distance causes faint marks; too short distance may scratch and damage the nozzles.
- Check if the conveyor line shakes. Inspect workpiece surface for oil stains, dust or release agent. Surface contaminants will cause ink spreading and blurred print edges.
- Inspect the UV curing lamp. Check ink buildup on lamp head and verify lamp power. Insufficient curing leads to ink diffusion and blurry codes.
- Confirm workshop temperature and humidity. Low ambient temperature increases UV ink viscosity and triggers ink interruption.
III. Consumable & Ink Circuit System Inspection
- Verify ink model and expiry date. Confirm no ink sediment and no curing caused by strong light exposure.
- Check liquid levels of main ink tank and secondary ink tank. Check if vent holes are blocked, and whether ink tubes have bends or leakage.
- Check negative pressure parameters and compare with factory standard values. Excessive negative pressure sucks ink back and causes ink interruption; insufficient negative pressure leads to nozzle ink accumulation and ink splashing.
- Inspect ink circuit filter. Ink residue and impurities inside the filter reduce ink supply flow and trigger intermittent ink cut-off. Replace the filter directly once it reaches its service life.
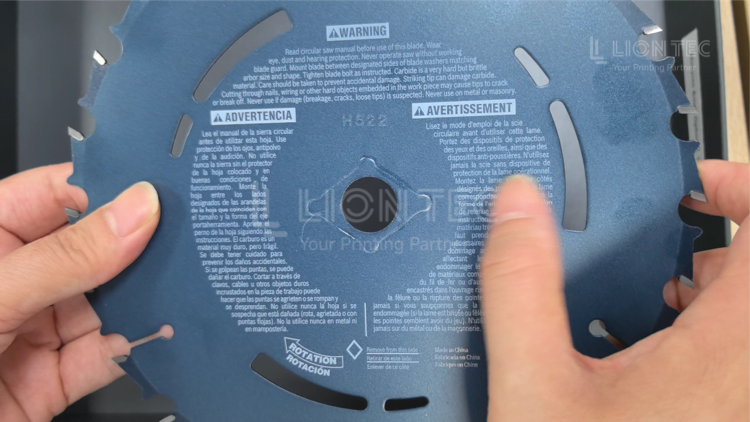
IV. Software Printing Parameter Verification
- Access the coding control software to verify parameters: printing resolution, production line encoder speed and flash jet frequency.
- If the line speed exceeds the maximum response limit of the printhead, characters will be compressed and incomplete. Too low flash jet setting causes ink drying when nozzles are idle, resulting in intermittent ink interruption.
- Restore the factory-recommended parameters and perform a test print again.
V. Printhead Appearance and Nozzle Status Inspection
- Check for dried ink buildup on the printhead surface. Run the built-in automatic flash jet and priming program, then print a status test strip.
- If some nozzles fail to eject ink on the status chart due to nozzle clogging, perform printhead air purging.
- If the status chart shows full ink ejection but product printing remains blurred, the fault is not on the printhead. Return to inspect line distance, curing effect and workpiece surface.
VI. Cleaning and Repair Operations
- Use matched UV-specific cleaning fluid and dust-free non-woven cloth to gently absorb ink stains on nozzle surfaces. Do NOT wipe the nozzle surface back and forth. Run ink priming and air purging to remove air bubbles inside the ink circuit, then print the nozzle test strip again after priming.
- If nozzles cannot be recovered after multiple priming and cleaning, stop manual operation and contact technical engineers to evaluate printhead conditions.
VII. Test Print Verification & Fault Confirmation
- Carry out test printing using workpieces identical to production materials. Run continuous printing for 5–10 minutes and check for recurring ink interruption or blurry marks.
- After troubleshooting, record the root cause of this fault and update the equipment maintenance log.
Advantages of Standardized Implementation
1. Shorten production line downtime and reduce production losses.
Follow the standardized procedure to locate faults step by step, avoiding blind cleaning and repeated printhead disassembly. Most blurring and ink interruption faults can be identified and resolved within 5-20 minutes, without long line shutdown waiting for on-site engineers.
2. Protect piezoelectric printheads and cut spare part procurement costs.
Piezoelectric UV printheads are precise consumables. Improper flushing and forced high-pressure washing will directly damage the piezoelectric crystals. The standardized troubleshooting workflow follows the principle “check external factors first, then the printhead”, reducing unnecessary printhead disassembly and cleaning to extend printhead service life.
3. Stabilize marking print quality and lower the defect rate.
Timely identify hidden risks from environment, consumables and parameters. Maintain consistent clarity for QR codes and characters, ensure scannable product traceability codes, and reduce product rework caused by blurred marks.
4. Build an equipment maintenance knowledge base for on-site operators to perform independent maintenance.
This troubleshooting procedure can serve as the workshop SOP work instruction. Frontline operators can independently complete basic fault diagnosis and reduce reliance on professional engineers.
Conclusion
When blurred printing or ink interruption faults occur on your UV inkjet printer, apply this standardized troubleshooting workflow to locate the root cause from external factors to internal components. Prioritize inspection of environment, consumables, ink circuit and parameters to reduce accidental damage to the printhead caused by improper operation.
If the fault cannot be resolved through on-site inspection, feel free to contact our technical team for remote guidance or on-site technical support.