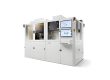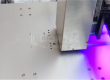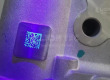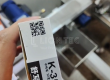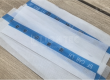
In the field of industrial marking, the UV Inkjet Coding Machine is widely adopted for its fast curing speed, strong adhesion and friction resistance in scenarios such as food packaging, electronic components and building material marking. Ink replacement is a frequent operation in daily maintenance of the UV Inkjet Coding Machine, and its standardization directly affects printing quality and equipment service life.
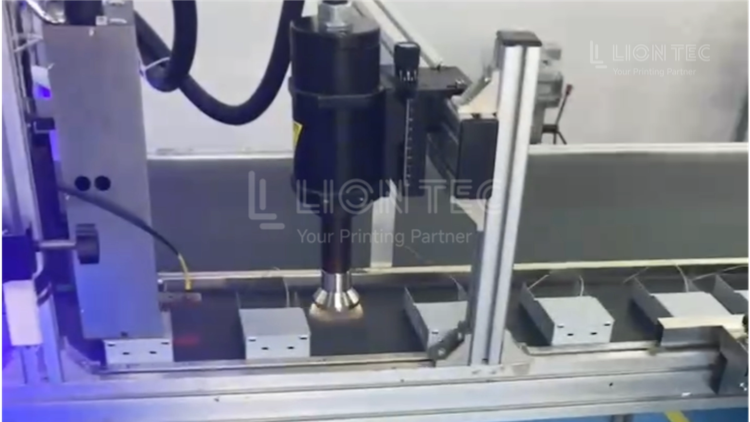
Advantages of Standard Ink Replacement
1.Protect the Core Printhead
Reduce equipment maintenance costs. The printhead is the most expensive precision component of the UV Inkjet Coding Machine. Chemical precipitation clogging caused by non-standard ink replacement mostly leads to irreversible damage. Standardized ink replacement prevents chemical reactions between old and new ink, greatly reduces nozzle clogging and line break failures, and extends the service life of the printhead.
2.Stabilize Printing Quality
Cut down defective products on the production line. Standardized emptying, cleaning, degassing and pressure calibration eliminate issues such as ghost codes, ink splashing, poor curing and unstable adhesion caused by air bubbles and ink contamination. It ensures consistent QR codes and character marks on electroceramics, aluminum foils, packaging and other products, and reduces scrap loss from poor coding.
3.Minimize Downtime
Guarantee continuous production of the production line. With fixed standardized procedures, operators follow the workflow to reduce repeated test runs and fault troubleshooting time. Ink replacement and calibration can be completed in advance to avoid unexpected ink interruption and shutdown mid-production, meeting the continuous operation requirements of factory assembly lines.
4.Avoid Consumable Waste
Lower overall operation and maintenance costs. Standardized cleaning procedures enable precise control over the consumption of special UV cleaning fluid and ink. Meanwhile, it reduces hidden losses from printhead repairs, spare part purchases and production line shutdowns, cutting the overall cost of coding and marking in the long run.
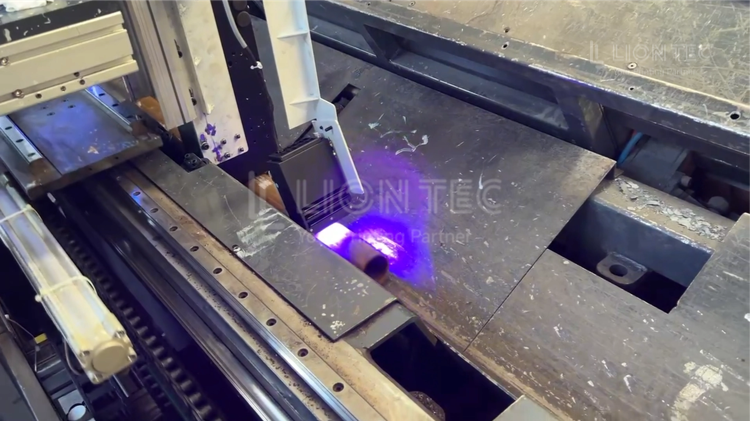
Standard Ink Replacement Procedure
I. Pre-shutdown Inspection and Printhead Status Recording
- Pause the production line, stop coding output, turn off the UV curing lamp and wait for the lamp to cool down.
- Run a printhead test print on the equipment operation interface, save the nozzle test strip and record the printhead status before ink replacement.
- Check ink circuit pressure and pipeline connectors to confirm no leakage, and record the current negative pressure parameters.
- Move the printhead to the moisturizing position and complete basic protection for the printhead.
II. Drain Old Ink and Collect Waste Liquid
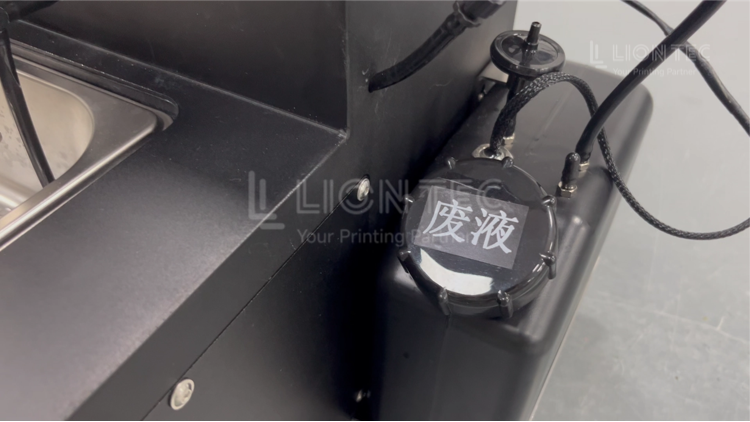
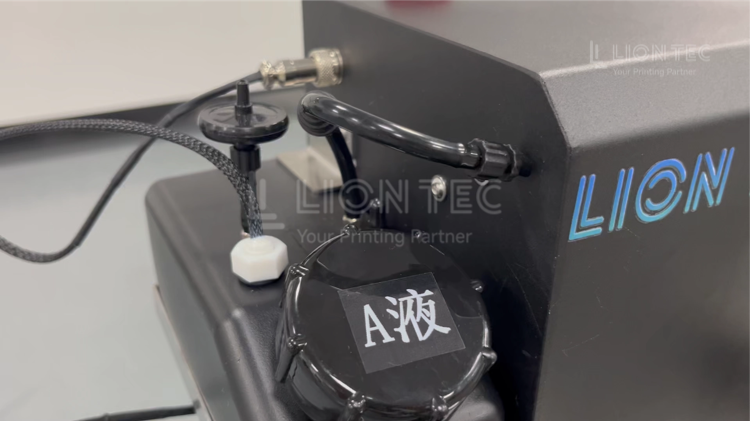
- Open the ink cabin, take out the ink tank, and pour the remaining old ink inside the tank into the waste liquid collection bucket.
- Activate the ink circuit draining function of the equipment to fully discharge residual old ink in pipelines and filters.
- Remove the old filter and dispose of it as scrap.
III. Ink Tank & Full Pipeline Cleaning
- Add special UV cleaning fluid into the ink tank, seal and shake to clean sediment on the tank wall, then drain the waste cleaning liquid. Repeat 2~3 times until the discharged liquid is clear and pigment-free.
- Reinstall the ink tank, fill with cleaning fluid and start the ink circuit circulation cleaning mode for 10–20 minutes to flush the entire delivery pipeline and valve sets.
- Perform ink pressurization to let cleaning fluid flow through the inner cavity of the printhead. Gently wipe the printhead surface in one direction with a dust-free cloth; do not rub the nozzles back and forth.
- Drain all cleaning fluid again and confirm no old ink color flows out from the pipeline.
IV. Refill New Ink & Pipeline Degassing
- Verify the ink model and batch number. Fully shake pigmented ink (white ink) for more than 60 seconds before use.
- Fill new ink between the upper and lower scale marks of the ink tank. Do not overfill; reserve space for thermal expansion.
- Install the new filter and reconnect the pipeline fittings.
- Start automatic circulation of the equipment and run low-speed circulation for 10–20 minutes to exhaust air inside the pipeline. The pipeline is qualified when no continuous large air bubbles are observed.
V. Ink Circuit Pressure Parameter Calibration
- Access the equipment maintenance interface, restore the negative pressure and ink supply pressure parameters matched for the printhead. Monitor continuously for 5–10 minutes to confirm stable pressure without sharp fluctuations. Excessively high pressure causes ink dripping and leakage; too low pressure easily leads to ink breakage.
VI. Printhead Verification, Test Printing & Production Confirmation
- Print a nozzle test strip, compare it with the pre-replacement record, and check for broken lines and missing nozzles.
- Print test QR codes and characters on the target substrate, inspect definition, ink droplet formation and curing performance.
- Confirm stable marking results free of air bubbles, ink splashing and void dots, then reconnect to the production line for mass production.
- Fill in the equipment maintenance log, recording ink model, batch number, ink replacement time and filter replacement details.
Conclusion
Standardized ink replacement is more than a simple consumable change; it is a vital procedure to guarantee the long-term stable operation of the UV Inkjet Coding Machine. LIONTEC recommends users establish standard operating records for ink replacement and incorporate every ink change into the equipment maintenance management system, so that the UV Inkjet Coding Machine can consistently deliver stable and crisp printing quality.