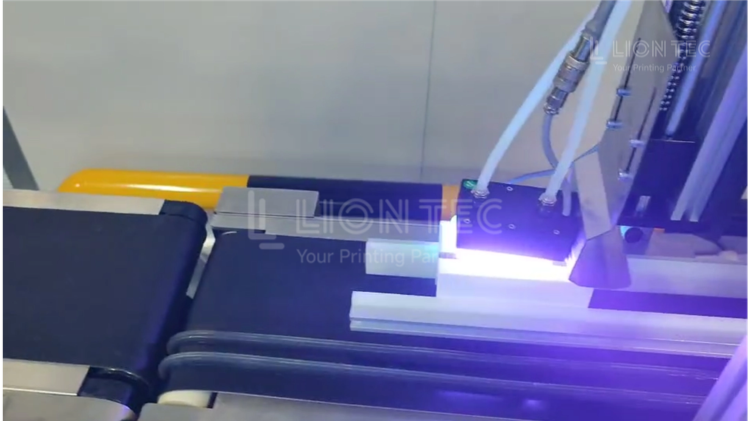
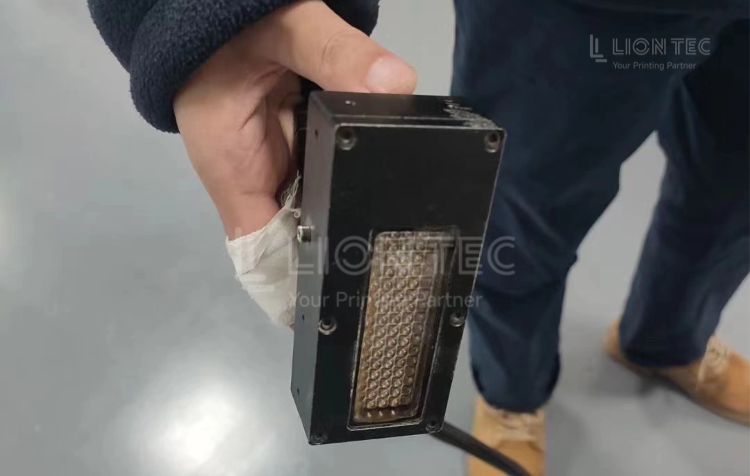
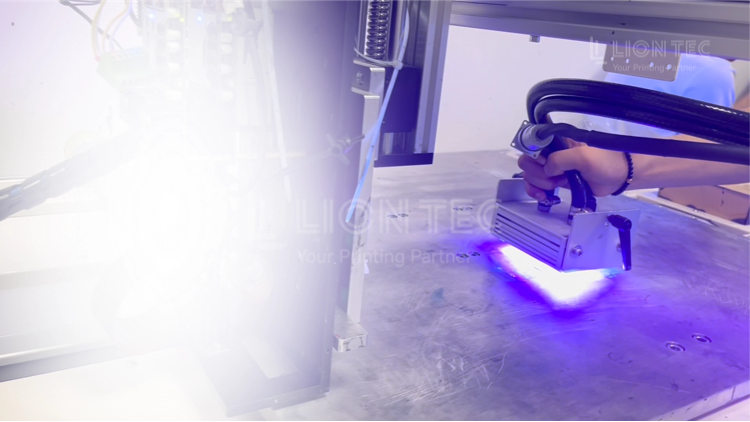
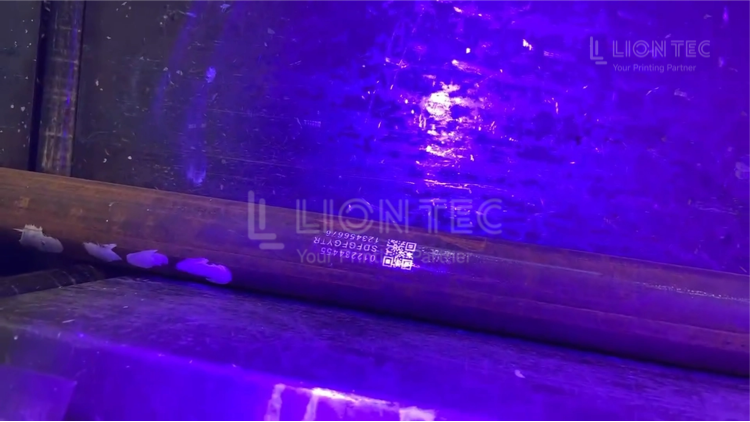
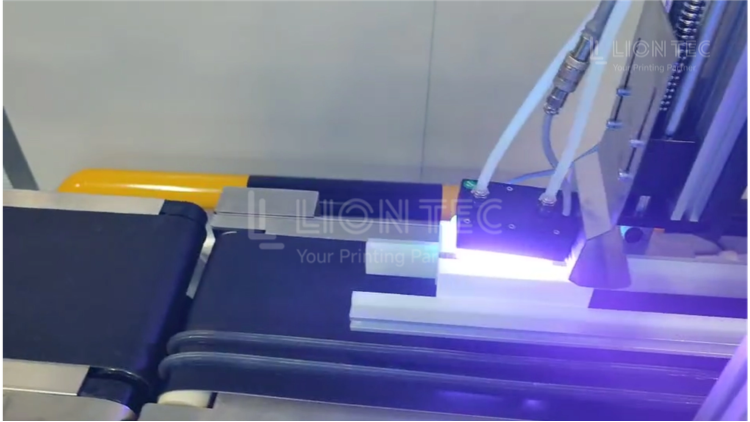
UV Curing Lamp is one of the most critical consumable parts for UV inkjet printer.UV lamp is the core curing component of UV inkjet printer. It falls into two major types: traditional mercury lamp and UV‑LED lamp. It emits ultraviolet light of specific wavelengths to trigger rapid photochemical reaction of UV ink printed on substrate surfaces for drying and curing, so as to complete coding marking printing.
UV Lamp Life Inspection Steps
I. Establish UV‑Lamp Operation Log for Runtime Monitoring
- After the new UV lamp is installed, reset the equipment runtime timer, and record the installation date, initial operating hours and lamp model number.
- Record the accumulated runtime during each equipment maintenance. Set warning alerts when mercury lamps reach 70% of their theoretical service life and UV‑LED lamps reach 80% of their theoretical service life.
- Log workshop temperature and daily printing speed in the log. Perform energy inspection in advance under high‑temperature continuous‑production conditions.Regular log‑keeping helps you track the service life of your UV Curing Lamp and avoid unexpected production downtime caused by light attenuation.
II. Three Inspection Methods to Assess Actual UV Lamp Degradation
- Visual appearance inspection: After power‑off and full cooling, inspect the lamp housing. Check the quartz glass for blackening, white spots or cracks. Check whether the UV‑LED lens is covered with haze and dust. Remove dirt with lint‑free cloth and isopropyl alcohol.
- Curing performance test: Print test samples. After 30‑second cooling, conduct nail‑scratch and tape adhesion tests. If printed coding marks can be easily scraped off, it indicates insufficient curing energy.
- Professional instrument measurement: Use a UV radiometer to measure UV energy values at substrate position. Compare readings against baseline values of brand‑new lamps. Trigger warning when energy attenuation exceeds 20%; lamp replacement is recommended when attenuation exceeds 30%.Periodic inspection is essential to judge the real working condition of the UV Curing Lamp, instead of only relying on theoretical runtime data.
III. Comprehensive Judgment for Replacement Timing
- The accumulated runtime reaches the manufacturer‑recommended replacement cycle.
- The measured UV energy drops to 70‑80% of its initial value.
- Poor curing occurs repeatedly under identical printing parameters.
- Lamp housing shows aging blackening, or the cooling fan triggers persistent high‑temperature alarms.Periodic inspection is essential to judge the real working condition of the UV Curing Lamp, instead of only relying on theoretical runtime data.
IV. Safe UV Lamp Replacement Procedure
- Shut down and cut off power. Wait for more than 30 minutes for full cooling of the UV lamp to avoid high‑temperature burns.
- Open the curing chamber cover plate and release the lamp retaining clips. Never touch the quartz glass surface with bare hands; hand grease will create hot spots and damage the lamp. Wear lint‑free gloves to remove the old lamp.
- Verify the model and wavelength parameters of the new lamp. Align the electrode connectors and install it steadily into the lamp holder to ensure firm contact.
- Clean dust and reflector stains inside the chamber, then close the cover plate.
- Power on the unit and perform idle preheating for 10‑15 minutes. Print test samples to check curing performance. Reset the lamp runtime log and record the replacement date.Follow standardized safety steps when swapping out a UV Curing Lamp, improper operation may damage printer components or bring safety hazards.
V. Post‑Replacement Follow‑up
After installing a new UV Curing Lamp, run continuous production for 2‑3 days with the new lamp. Re‑test curing adhesion performance to confirm normal operation, and restore production parameters to original standard speed.Run continuous production for 2‑3 days with the new lamp. Re‑test curing adhesion performance to confirm normal operation, and restore production parameters to original standard speed.
Conclusion
When managing your UV Curing Lamp,Regardless of the technical solution adopted, the core logic remains consistent: make data‑driven decisions, complete lamp replacement before excessive light attenuation occurs, and convert maintenance costs into a definite investment for quality assurance.